
How to Start a T-Shirt Business in 2025: A Practical, Step-by-Step Guide
Share
Launching a t-shirt brand is one of the most accessible ways to enter e-commerce. Start-up costs can be low, design possibilities are endless, and your products can travel from a pop-up table to a global audience overnight. This guide walks you through the entire process—from niche and branding to production, pricing, storefronts, marketing, and scaling—so you can launch with confidence and avoid common pitfalls.
1) Pick a Focused Niche (and Why It Matters)
A niche makes everything easier: designs, messaging, marketing, and community building. Instead of “shirts for everyone,” define a clear audience and point of view. Strong niches often blend identity + interest + value. Examples:
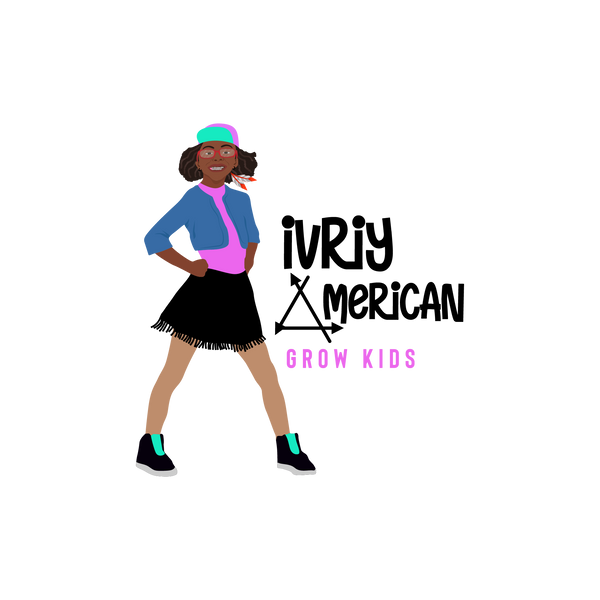
Heritage and culture streetwear with positive messaging
Faith + fitness, music + mental wellness, gardening + education
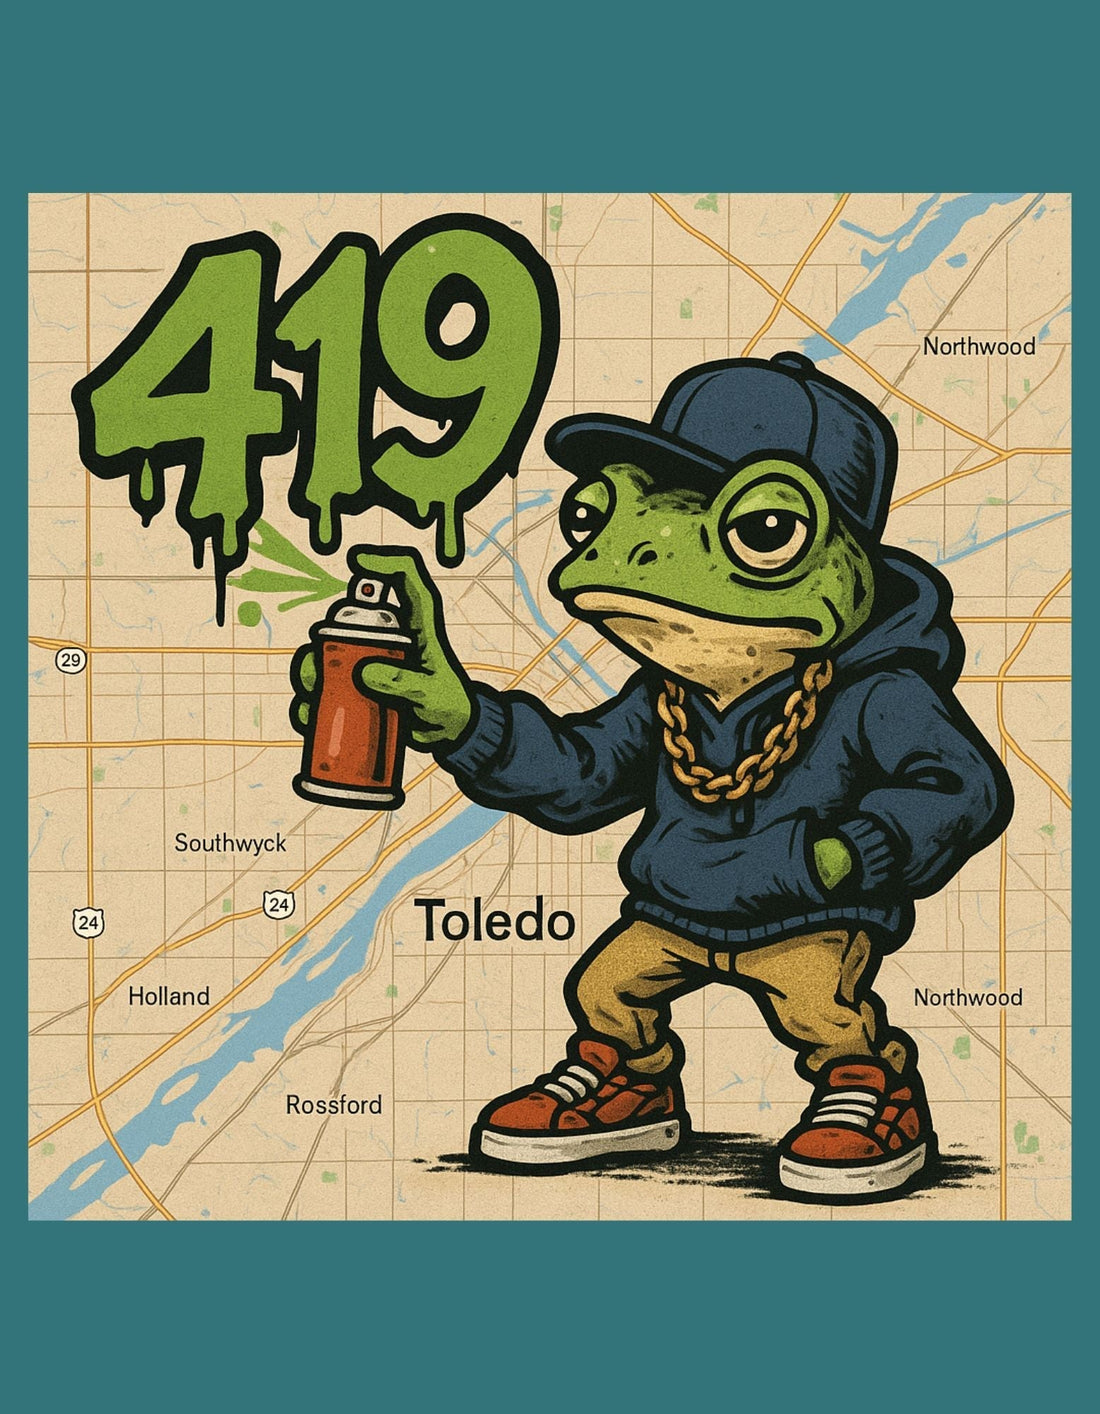
City/area-code pride with local iconography
Quick test: If you saw your shirt across a room, could you instantly guess the tribe it belongs to? If not, narrow further. Your niche informs voice, imagery, color palettes, and even which social platforms matter most.
Deliverable: Write a one-sentence brand statement:
“We make ______ for ______ so they can ______.”
2) Name, Brand, and Visual Identity
Your brand is the promise you keep and the feeling you deliver. Establish these early:
Brand name & domain: Short, memorable, easy to spell. Check domain and social handles.
Logo system: Primary logo, simple wordmark, and an icon that works at small sizes (e.g., neck tag).
Typography: Pick one headline font and one body font for consistency across web, mockups, and packaging.
Color palette: 3–5 colors (including black/white). Include an accent color you can “own.”
Voice & tone: Define 3 adjectives (e.g., bold, rooted, resilient) and write product copy to match.
Deliverable: A one-page brand style guide (logo usage, colors with hex codes, fonts, tone).
3) Choose a Production Model: POD, DTF/DTG, or Screen Printing
Print-on-Demand (POD)
Pros: No inventory, low risk, easy to test designs.
Cons: Higher unit cost, limited control over blanks and quality.
Best for: Validating ideas, pre-launch, low budget.
DTF/DTG (Direct-to-Film / Direct-to-Garment)
Pros: Full-color prints, great for short runs and on-demand fulfillment; crisp details.
Cons: Requires equipment or reliable partners; unit cost can be mid-to-high.
Best for: Fast turnaround, frequent design changes, pop-up events.
Screen Printing
Pros: Durable, vibrant prints; low unit cost at volume; premium feel.
Cons: Setup fees; not ideal for tiny runs or complex color gradients.
Best for: Signature designs, larger orders, wholesale.
Hybrid strategy (recommended): Start POD to validate, then screen print top sellers for margins and quality. Use DTF for quick restocks and special event drops.
4) Select Your Blanks and Fit
The blank (the base shirt) determines comfort, drape, and perceived value.
Fabric: 100% combed ringspun cotton for softness; cotton/poly blends for durability; heavyweight for streetwear.
Fit: Classic, boxy, or athletic. Order sample sizes to test shoulders, sleeve length, and overall silhouette.
Colors: Start with black/white + 1 hero color (e.g., sand or vintage wash).
Sustainability: Consider OEKO-TEX or organic options if that’s part of your brand promise.
Deliverable: Approve 1–2 blanks per product line (adult and youth), document SKUs (e.g., TEE-BX-BLK-M).
5) Design Process and Quality Control
Design workflow:
1. Brainstorm around your niche themes and seasonal moments.
2. Sketch variations (tagline, icon, full graphic, back print).
3. Build vector files (AI/SVG) and high-res PNGs (300 DPI, transparent).
4. Create mockups on realistic flat-lays and model photos.
5. Test legibility at 6–10 feet (the “across-the-room test”).
Quality control checklist:
Lines are clean; small text > 10 pt when printed.
Pantone or hex colors documented for consistency.
Print size set per garment (e.g., 11" front center for adult L).
Wash test: 5 cycles at home to assess cracking/fading.
6) Pricing That Protects Your Margin
Use simple, defensible math:
Retail Price = (COGS × 3) to (COGS × 4)
COGS (Cost of Goods Sold) includes: blank, print, neck label, poly mailer/box, insert card, and shipping to you (if applicable).
Factor in platform fees (e.g., marketplace %, payment processing), ads, and your time.
Example:
Blank: $6.50
Print: $5.00
Label/packaging: $1.00
Freight to you: $0.75
COGS = $13.25 → Retail $39–$45 protects margin and promo flexibility.
Offer bundle deals (2 for $70), and tiered pricing for limited drops vs. evergreen basics.
7) Operations: SKUs, Inventory, and Fulfillment
SKUs: Keep them human-readable and systematic.
Format: Category-Fit-Color-Size (TEE-BX-BLK-M).
Keep a sheet that maps design → colorways → sizes → SKUs.
Inventory:
Start lean: 5–10 pieces per size/color of your top 2–3 designs for in-person events.
Use preorders for risky colorways or specialty sizes.
Forecast with simple rules: if an item sells out in < 7 days, reorder 1.5–2× next cycle.
Fulfillment:
In-house: control and speed; use a label printer and scale.
3PL: useful once you hit 100–200 orders/month.
POD provider: fully hands-off but lower margins.
8) Storefronts: Where to Sell
Your website (Shopify, WooCommerce):
Control brand, capture emails, build repeat customers.
Must-have pages: Home, Shop, About/Story, Size Guide, FAQ/Returns, Contact.
Product page essentials: 4–6 photos (front/back/close-ups), clear fit notes, care instructions, social proof, and size chart.
Marketplaces (Etsy, Amazon):
Built-in traffic; strong for niche searches (“heritage streetwear,” “city pride shirt”).
Optimize titles, tags, and attributes.
Expect competition on price; stand out with brand story and photography.
In-person (festivals, pop-ups):
Great for brand discovery and content creation.
Bring a simple POS, email sign-up sheet, and a mirror.
Offer event-only colorway or bundle to increase cart size.
9) Product Photography and Mockups
Lighting: Soft natural light or two diffused lights at 45°.
Angles: Flat-lay, on-hanger, on-model (front/back/side), detail shot of print texture.
Consistency: Same background and crop across the collection.
Lifestyle shots: Show the shirt in context—city streets, studio, or garden—whatever fits your brand story.
Video: 6–10 second vertical clips (spin, close-up of print, someone walking) for Reels/Shorts.
10) Launch Marketing: Build Momentum Before Day 1
Pre-launch (2–4 weeks):
Teaser posts of sketches, color swatches, behind-the-scenes.
“Founding list” opt-in for early access and 10–15% off.
Poll your audience on the final two colorways. Make them co-creators.
Launch week:
Daily countdown on social.
Drop a “hero” design and a limited-quantity variant.
Go live on Instagram/TikTok to tell your origin story and try-ons.
Offer a launch bundle (shirt + sticker + handwritten note).
Post-launch (weeks 2–4):
UGC push: “Post a photo in your shirt, tag us, and win a free tee.”
Short educational content: what your symbols mean, how you source blanks, why your fit is unique.
Share customer reviews and restock dates.
11) Content Strategy That Doesn’t Burn You Out
Aim for one primary platform and one supporting platform:
Instagram/TikTok: short videos (design reveals, screen prints pulling, packaging orders, pop-up clips).
Pinterest: vertical mockups and lookbooks; strong for evergreen discovery.
YouTube Shorts: quick storytelling; batch 5–10 clips at a time.
Content pillars (rotate weekly):
1. Behind the Brand: your story, values, inspiration.
2. Product Close-Ups: print texture, sizing tips, styling ideas.
3. Community: testimonials, customers, partners, events.
4. Education: meaning of graphics, culture/history notes, care guides.
5. Drops/Promos: restocks, limited editions, bundles.
12) Email and SMS: Your Most Profitable Channels
Lead magnet: 10–15% off first order, or an exclusive wallpaper/playlist.
Welcome flow (3 emails):
1. Story + bestsellers
2. Social proof + FAQ (fit/returns)
3. Offer reminder + UGC feature
Campaigns: 1–2 per week—new arrivals, behind-the-scenes, cultural dates that matter to your niche.
SMS: Use sparingly for drops, restocks, and event reminders.
13) Policies, Packaging, and Customer Experience
Returns/Exchanges: Clear and fair. Size exchanges win loyalty.
Shipping: Offer free shipping threshold (e.g., $75). Provide tracking immediately.
Packaging: Branded mailer or box, tissue/insert card with your story and care tips, and a sticker.
Size guide: Measured flat in inches; include model height/size.
Care instructions: On the product page and insert (cold wash, inside-out; tumble low or hang dry).
Pro tip: A handwritten “thank you” note in your brand voice gets photographed and shared—built-in marketing.
14) Legal & Admin Basics (General Guidance)
Business structure: Sole prop/LLC/corp—choose based on risk and tax advice from a professional.
Licenses & seller permits: Check your state/local requirements.
Trademarks: Search before using a name/slogan; consider filing once you see traction.
Copyright: Your original designs are protected when created, but registration improves enforcement.
Taxes: Track sales tax collection and remittance by channel and state. Use your platform’s tax tools.
(This is not legal or tax advice; consult a professional for your specifics.)
15) Analytics and Iteration
KPIs to watch:
Conversion rate (target 2–4%+ on your site)
Average order value (AOV)
Customer acquisition cost (CAC) and return on ad spend (ROAS)
Email sign-up rate (2–5% of traffic)
Sell-through rate per SKU
Use data to decide:
Kill designs with < 5% sell-through after 60 days.
Promote designs with 20%+ sell-through; move them to screen print for margin.
If returns cluster around sizing, update size chart and add try-on video.
16) A Simple 30-Day Launch Plan
Week 1 – Foundation
Finalize brand guide, trademark search, top 3 designs, and pricing.
Order samples; test print quality and wash durability.
Set up store skeleton: Home, Shop, About, FAQ, Size Guide.
Start email capture with a “founding list.”
Week 2 – Proof & Content
Photo/video shoot: flat-lays, on-model, and 3 short vertical videos per design.
Create 10–15 social posts (batch).
Send “sneak peek” email to your list; poll on colorways.
Week 3 – Pre-Launch
Publish product pages (password protected).
Announce launch date/time; run a countdown.
Offer early access for email/SMS.
Line up 3 micro-influencer seeding packages (shirt + story brief).
Week 4 – Launch
Go live; post your origin story video.
Offer a 48-hour bundle or limited colorway.
Collect UGC; repost daily.
Send post-launch survey and prepare restock order for winners.
17) Common Mistakes to Avoid
Too many designs at launch. Start with 3–5 focused winners.
No size guide or unclear fit. Causes returns and bad reviews.
Underpricing. You can’t market your way out of thin margins.
Inconsistent brand voice. Keep fonts, colors, and tone uniform.
Skipping samples. Always test blanks and prints before buying inventory.
18) Quick Checklist (Copy/Paste)
-
Niche + one-sentence brand statement
-
Name, domain, social handles secured
-
Mini brand guide (logo, fonts, colors, tone)
-
Production model chosen (POD/DTF/Screen)
-
Blanks selected; samples approved (adult + youth)
-
Top 3–5 designs finalized; files in AI/SVG + 300 DPI PNG
-
Pricing set with 65–75% gross margin target
-
SKU system created; inventory plan drafted
-
Storefront live (Home, Shop, About, FAQ, Size Guide, Returns)
-
Photos/videos complete (flat-lay, model, detail, 3 reels each)
-
Email/SMS setup with welcome flow
-
Launch week calendar and promo bundle ready
19) SEO Starter Pack for Your Blog/Product Pages
Primary keyword ideas: “start a t-shirt business,” “streetwear brand launch,” “how to price t-shirts,” “DTF vs screen printing,” “best blanks for streetwear.”
Meta description template:
“Learn how to start a t-shirt brand—from niche and designs to pricing, storefronts, and marketing. A step-by-step guide with checklists and a 30-day launch plan.”
Internal links: About/Story, Size Guide, FAQ, and cornerstone blog posts (e.g., “DTF vs. Screen Printing,” “How to Photograph T-Shirts at Home,” “Email Welcome Flow for Apparel”).
FAQ block (for rich snippets):
What’s the cheapest way to start a t-shirt brand? POD to validate, then invest in inventory for top sellers.
How much does it cost to start? $200–$2,000 depending on samples, photography, and ads.
What shirt blanks should I use? Test 2–3 options; pick based on fit, hand feel, and durability.
How do I price my shirts? Retail at 3–4× COGS to cover fees and leave profit for growth.
Final Thoughts
A successful t-shirt business isn’t built on one viral design; it’s the result of a consistent brand story, reliable quality, a clear niche, and steady content that keeps your community engaged. Start lean, test fast, listen to your customers, and scale what works. With a focused foundation and the systems above, you can launch in 30 days and refine quickly from real-world feedback.